The Five-Minute Restaurant Accessibility Walkthrough: See Your Restaurant Through a Guest’s Eyes

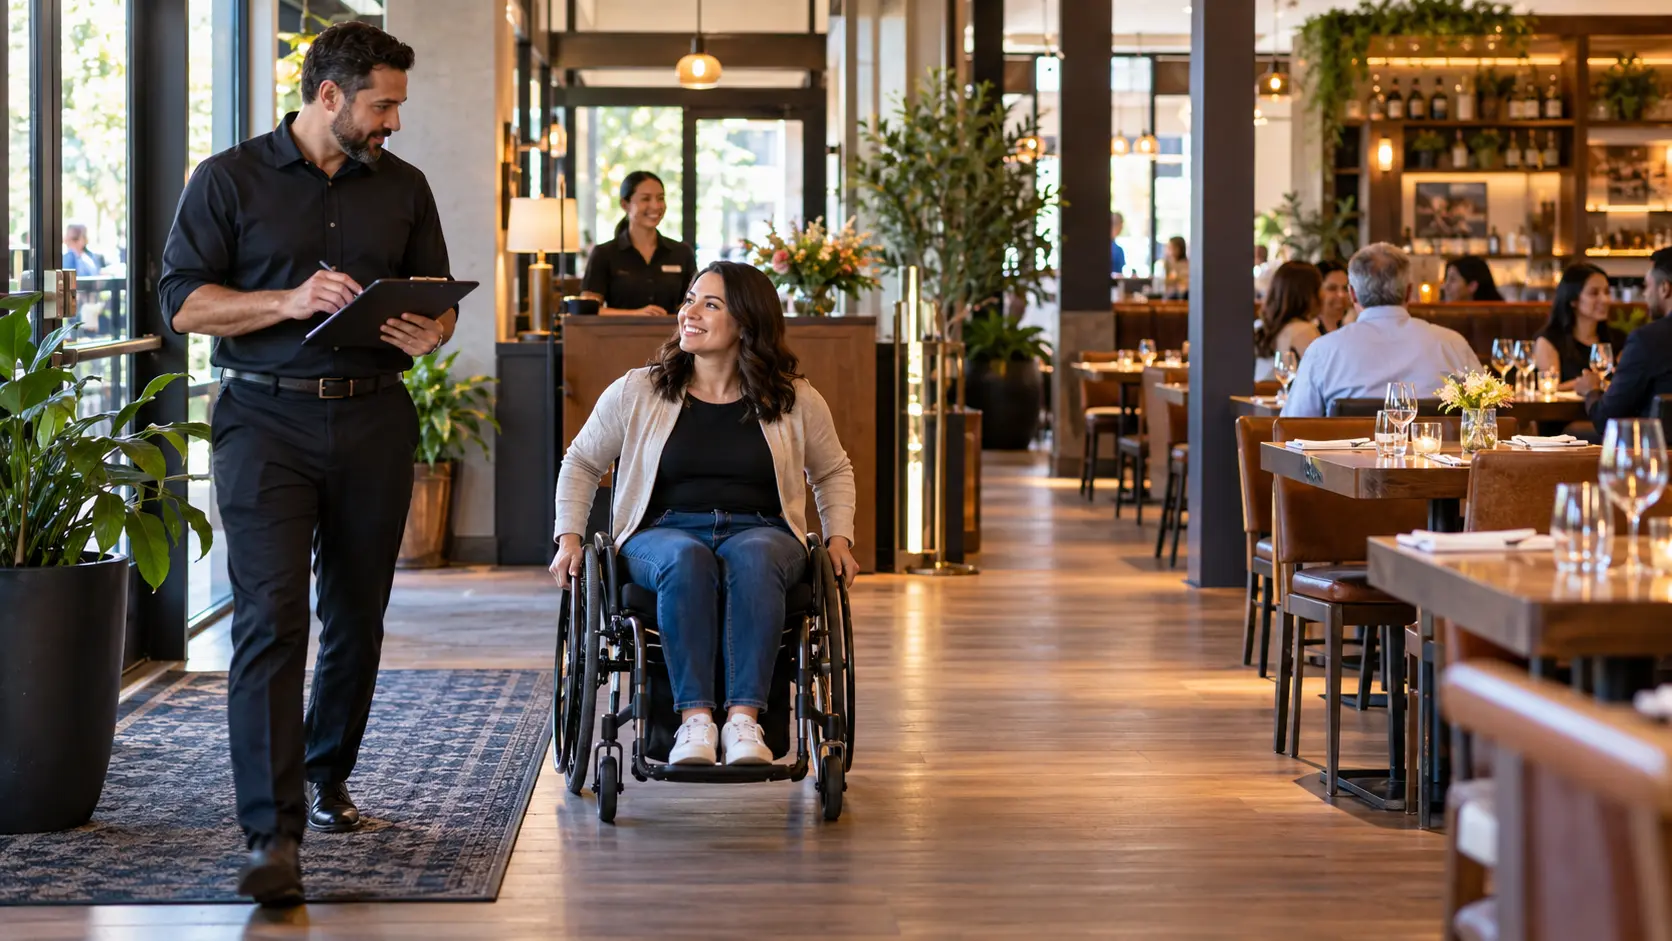
Restaurant manager conducting a restaurant accessibility walkthrough while a wheelchair user moves along a clear route through the dining room.

A restaurant can feel completely accessible to the people who work there every day and still present barriers to a first-time guest.

That is why every local and regional operator should consider a restaurant accessibility walkthrough.

It does not require a consultant, and it does not require a renovation. In about five minutes, a restaurant accessibility walkthrough can help you spot barriers from parking and entrance to seating, menus, restrooms, payment, and exit.

The goal is not to replace a formal ADA assessment. It is to identify everyday problems that can create frustration, slow service, lead to poor reviews, or give a guest a reason not to return.

For restaurant owners and managers, the value is simple: find the barrier before the customer does.

Why a Restaurant Accessibility Walkthrough Matters

Accessibility is often treated as a compliance issue. Guests experience it as a journey.

A diner does not experience your restaurant as a list of building features. They experience a sequence of moments: Can I park? Can I get through the entrance? Can I reach the table? Can I read the menu? Can I use the restroom? Can I pay and leave independently?

DineAbiliti’s national research has found that 56% of surveyed diners with disabilities encounter accessibility challenges at least sometimes when dining out, while approximately 54% said they had decided not to dine at, or return to, a restaurant because of accessibility challenges.

A restaurant accessibility walkthrough gives operators a quick way to experience that journey from the customer’s point of view.

Step 1: Start With Accessible Parking and Drop-Off

Begin where many guests begin: the parking lot, curb, sidewalk, or passenger drop-off area.


Look for clearly marked accessible parking, usable access aisles, curb cuts, a smooth route to the entrance, and temporary obstacles such as signs, planters, trash containers, or outdoor furniture.


If your restaurant is in a shopping center, the landlord may control much of this area. You should still know what guests experience and who to contact when a barrier appears.


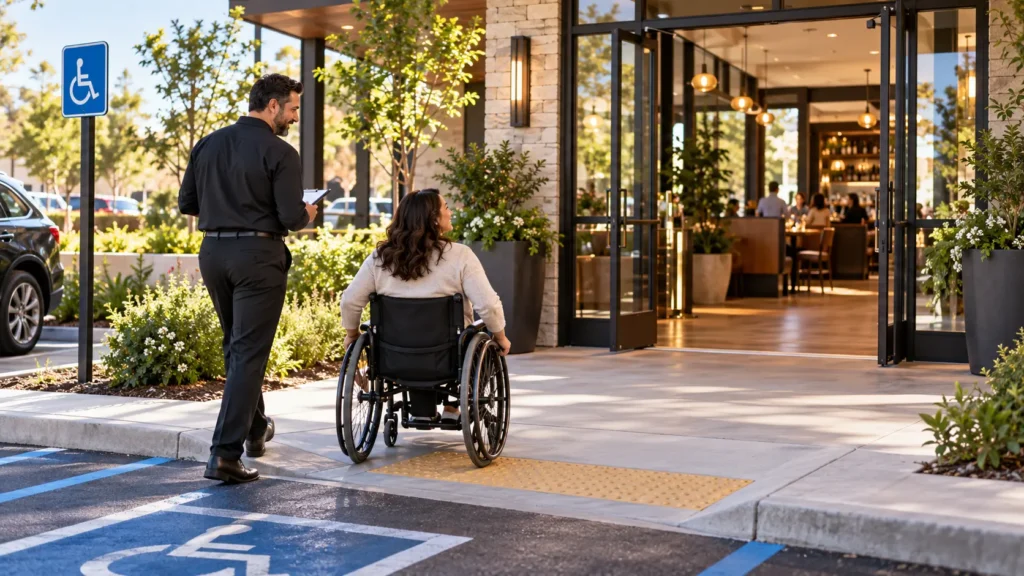
Restaurant accessibility walkthrough beginning at accessible parking and a step-free entrance with a wheelchair user approaching the restaurant.

Step 2: Approach the Entrance Like a First-Time Guest

Do not use the staff shortcut you already know. Follow the route a new guest would naturally choose.


Is the entrance step-free? If there is a ramp, is it easy to find? Is an alternate accessible entrance clearly marked? Is the door difficult to open? Has patio furniture narrowed the route?


An accessible route is most useful when the guest can find and use it without needing insider knowledge. For more on information guests need before arriving, see Before They Book: 10 Accessibility Details Every Restaurant Should Publish Online.

Step 3: Check the Host Stand and Waiting Area

Now stop where your guests stop. Look at the host stand and waiting area during service, not only before opening.


Can a wheelchair or scooter move comfortably through the space? Are menus, highchairs, stanchions, or promotional displays narrowing the route? Is seating available for someone who cannot stand for long periods?


If a guest added an accessibility request to a reservation, make sure the host can see it before the party arrives.


DineAbiliti’s Accessible Reservation article explains how one optional accommodation question can help staff prepare before a guest reaches the host stand.

Step 4: Follow the Route to the Table

Walk from the entrance to several tables while the restaurant is operating.


Chairs move. Highchairs appear. Tray stands enter aisles. Guests pull chairs away from tables. A route that looks clear before opening can look very different at 7:00 p.m.


The ADA National Network recommends checking paths around ordering counters, self-service areas, and seating so there is enough clear space for people using wheelchairs, mobility aids, or service animals, especially when chairs are occupied.


Review the ADA National Network Food Service guidance for additional restaurant accessibility guidance.

Step 5: Sit at the Accessible Table

Do not just look at the table. Imagine actually using it.


Is it standard dining height? Is there enough knee and toe clearance? Can a chair be removed easily? Does the table base interfere with wheelchair positioning? Is there room for a service animal without blocking the aisle?


Accessible seating should feel like ordinary dining, not an afterthought. A guest should be able to remain with the rest of the party.


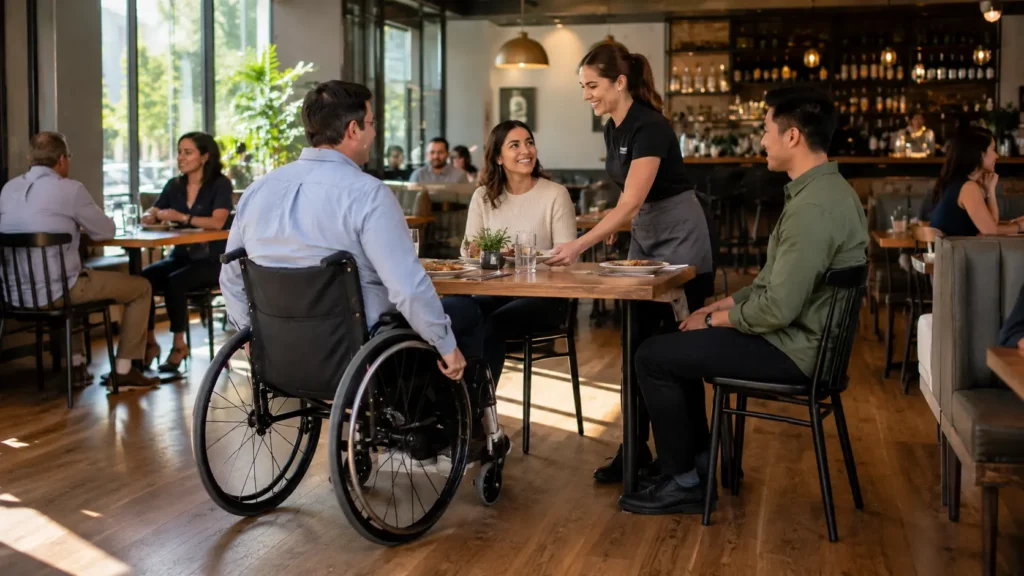
Restaurant manager checking accessible table placement and seating during a restaurant accessibility walkthrough with a wheelchair user and dining companion.


For seating-specific guidance, see Seating Accessibility That Matters: Proven Tips for Inclusive and Welcoming Dining.

Step 6: Review the Menu and Ordering Experience

Restaurant accessibility is not only physical. Pick up the printed menu, scan the QR code, and open the digital menu.


Is the text readable? Is the contrast strong? Is the digital menu made from real text? Is there an alternative to a QR code? Can someone using a screen reader or keyboard navigate it?


The key question is simple: can the guest understand what is available and make a choice with as much independence as possible?


See Is Your Digital Menu Actually Accessible? for a deeper digital accessibility review.

Step 7: Walk to the Restroom

Follow the actual route to the restroom. Check the hallway, door, accessible stall, grab bars, sink, and required clear space.


Pay special attention to storage. A restroom can be designed accessibly and still become unusable because boxes, cleaning equipment, or highchairs gradually occupy the space.


This is exactly the type of operational problem a restaurant accessibility walkthrough can catch quickly.

Step 8: Listen to the Room

Accessibility can also involve hearing and sensory needs.


Stand in several parts of the dining room. Which tables are easiest for conversation? Which are beside speakers, televisions, bars, or busy service areas? Is the lighting so dim that reading or lip-reading becomes difficult?


Your team does not need to make every table quiet. It should know where the quieter options are.


DineAbiliti’s Hidden Barrier of Restaurant Noise article explains how quieter seating options can improve the experience for guests with hearing loss and sensory needs.

Step 9: Check Payment and Exit

Accessibility should continue through the final minutes of the visit.


Can the payment terminal be moved within reach? Is the screen readable? Does the guest have enough time to complete the transaction? Is the exit route clear when other guests are waiting?


A good dining experience should not become difficult at checkout.

Five Things You Can Fix Before Tonight's Service

  1. Move anything blocking an accessible route.
  2. Make sure accessible restroom space is not being used for storage.
  3. Identify the standard-height tables that work best for wheelchair users.
  4. Tell the host which tables are quieter and easier to access.
  5. Make sure staff know to ask how they can help rather than making assumptions.

Make the Restaurant Accessibility Walkthrough a Routine

The biggest benefit comes from repetition.


Restaurants change constantly. Furniture moves. Patio layouts change. Seasonal displays appear. Equipment gets stored in new places. Staff routines evolve.


Repeat the restaurant accessibility walkthrough monthly, after a major layout change, or before a high-volume event. Use the same route each time:

Parking → Host Stand → Table → Menu → Restroom → Payment → Exit

For a more detailed review, use the DineAbiliti Restaurant Accessibility Checklist.


The value of a five-minute restaurant accessibility walkthrough is not that it replaces a formal accessibility assessment. It does not.


Its value is that it helps owners and managers notice what familiarity can hide: a chair blocking an aisle, a ramp no one can find, a restroom being used for storage, a QR-only menu, or a table that works for a wheelchair but cannot be reached during service.


For diners with disabilities, those details can determine whether a restaurant feels welcoming or exhausting. For operators, they are opportunities.


Walk the route. Notice the barriers. Fix what you can. Communicate what guests need to know.

That is not just better accessibility. It is better hospitality.


DineAbiliti Logo


Related Posts

Restaurant manager conducting a restaurant accessibility walkthrough while a wheelchair user moves along a clear route through the dining room.

The Five-Minute Restaurant Accessibility Walkthrough: See Your Restaurant Through a Guest’s Eyes
You know your restaurant by heart, but a first-time guest does not. This five-minute restaurant...
Wheelchair user reviewing an accessible digital restaurant menu with a server; menu prices are displayed in U.S. dollars.

Is Your Digital Menu Actually Accessible? A Practical Guide for Restaurants

A digital menu should make ordering easier, not create another barrier. Learn how restaurants can...
Tayjus Surampudi

Access Changes Lives: How Tayjus Inspired DineAbiliti and a More Accessible Dining Experience

This World Duchenne Awareness Day, DineAbiliti celebrates Tayjus Surampudi, whose experiences living with Duchenne muscular...

Leave a Reply

Your email address will not be published. Required fields are marked *

Message from our Advertisers